Last week, Louis and I did some late spring cleaning. I cleaned out my shoes and he cleaned out his clothes. I refused to clean my clothes out because you never know what you can use to make something better. While Louis was cleaning his side of the closet, I started to get sad because there were quite a few shirts he was getting rid of that I liked. But, then I started to get excited because my pile of reconstruction clothes was getting bigger and bigger. After I had looked through the
pot of gold pile of old clothes and found my favorite shirts, I went online and started looking for button up shirts that I liked that I could try to copy. After only a few minutes I found this shirt.
 |
| from the Buckle |
I really love the ruffled bottom and the band across the waist. So, I set out to try to come close to this shirt.....I won't keep you in suspense. I failed miserably! I had these two shirts I was going to use to convert into the Buckle shirt.
I was going to use the brown shirt for the ruffles on the bottom. I didn't plan on doing the ruffles on the sleeves or the fabric around the collar. So, it seemed like an easier reconstruction. To start off I took the sleeves, pocket, and collar off with my seam ripper...ok maybe not a seam ripper but I have not been able to find my seam ripper in over a month!
So, this is what I had left after taking those seams out.......
 |
| body of shirt minus the sleeves, collar, and pocket |
|
 |
| collar pieces...I will be using these again |
My next step was to take the body of the shirt in so it will be fitted. My plan was to take the sides in just a tad and then put some darts in when I got to my next step. I put the shirt on inside out and pinned the sides leaving some wiggle room. After pinning I sewed where I pinned.
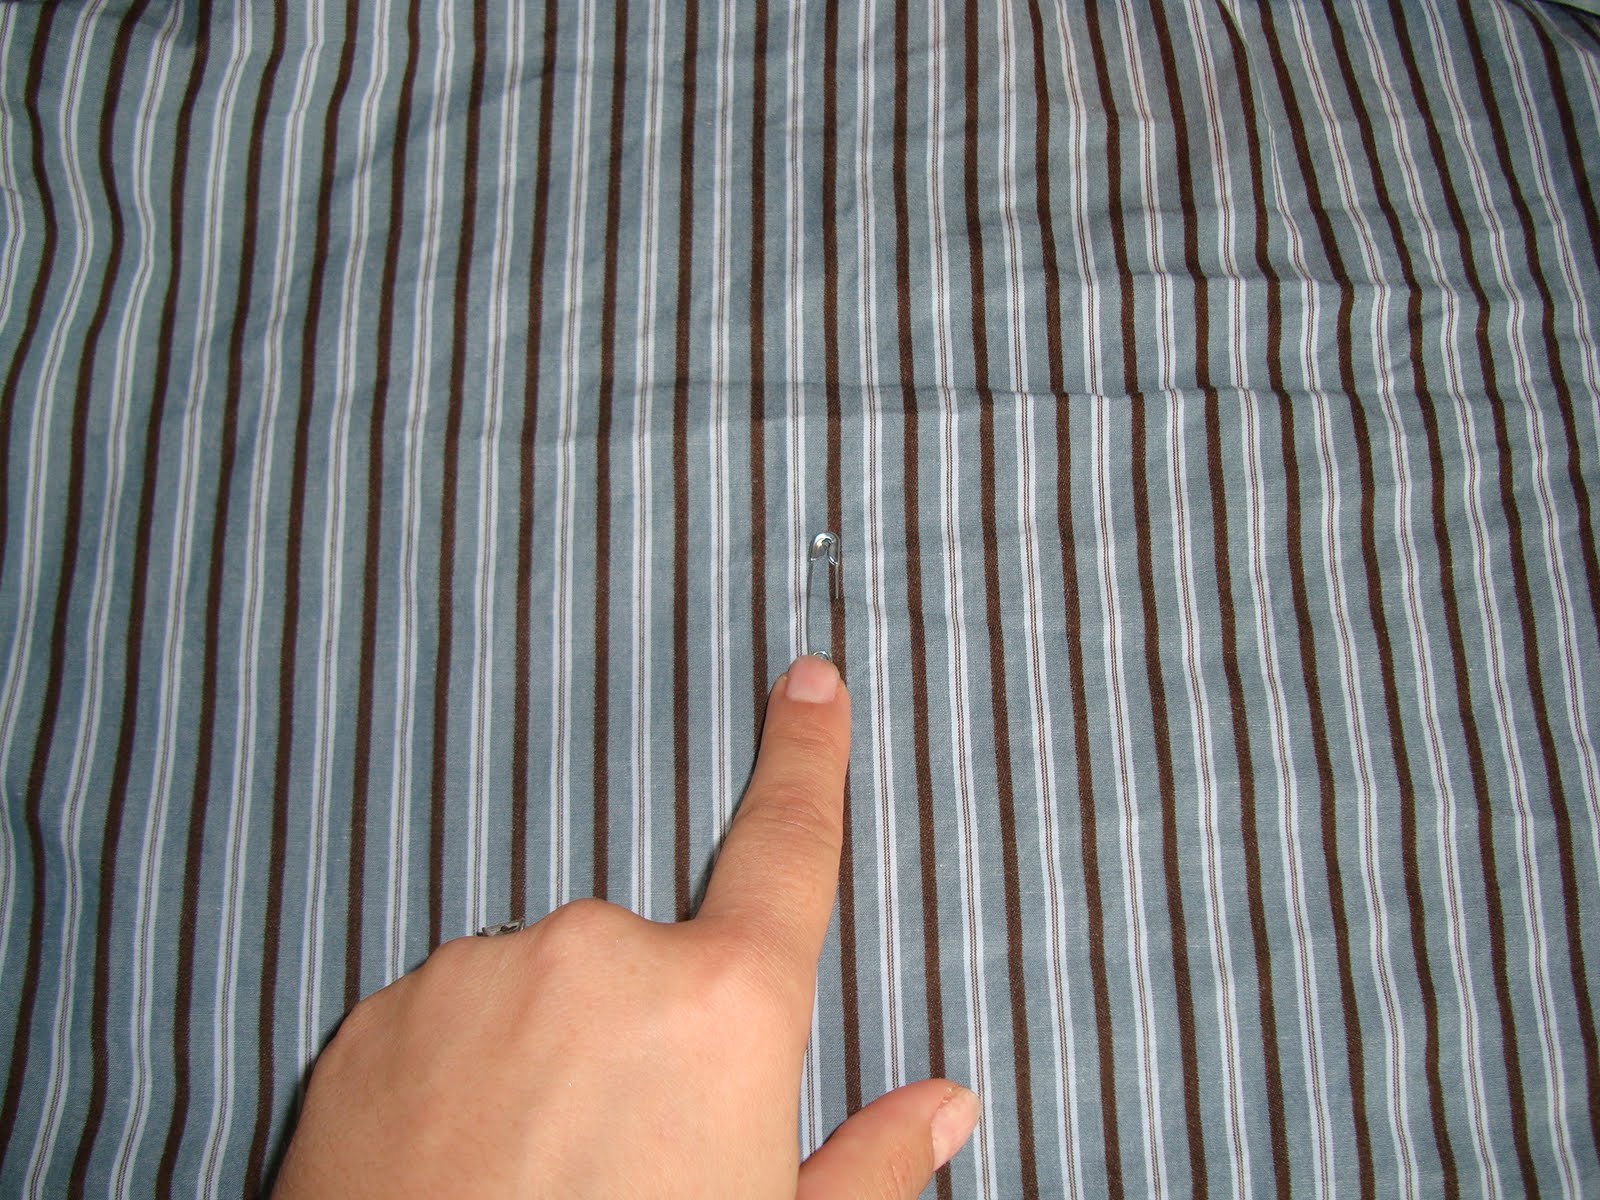
I then found the verticle center of the shirt and the middle of the collar and pinned the two together.
This next part I kinda reverse the belt part compared to the inspirational shirt. The only reason I did this was well.....because it was easier for me to do. I created it in two parts. Here is the first.
 |
| find the center of the back of the shirt |
 |
| I pinned it so I knew where it was |
 |
| found the center of the piece of collar fabric |
 |
| pinned the two middle spots together |
Then, after I measured from the bottom of the shirt to the safety pin I measured the sides the same way to make sure the piece of collar was going to be straight across. I then pinned the sides of the collar fabric to the sides of the shirt.
 |
| pinned the side after measuring from the bottom |
 |
| pinned the other side |
 |
| pinning the collar fabric to the back left side you want to do this on both sides |
 |
| pinning the collar fabric to the middle of the back of the shirt |
 |
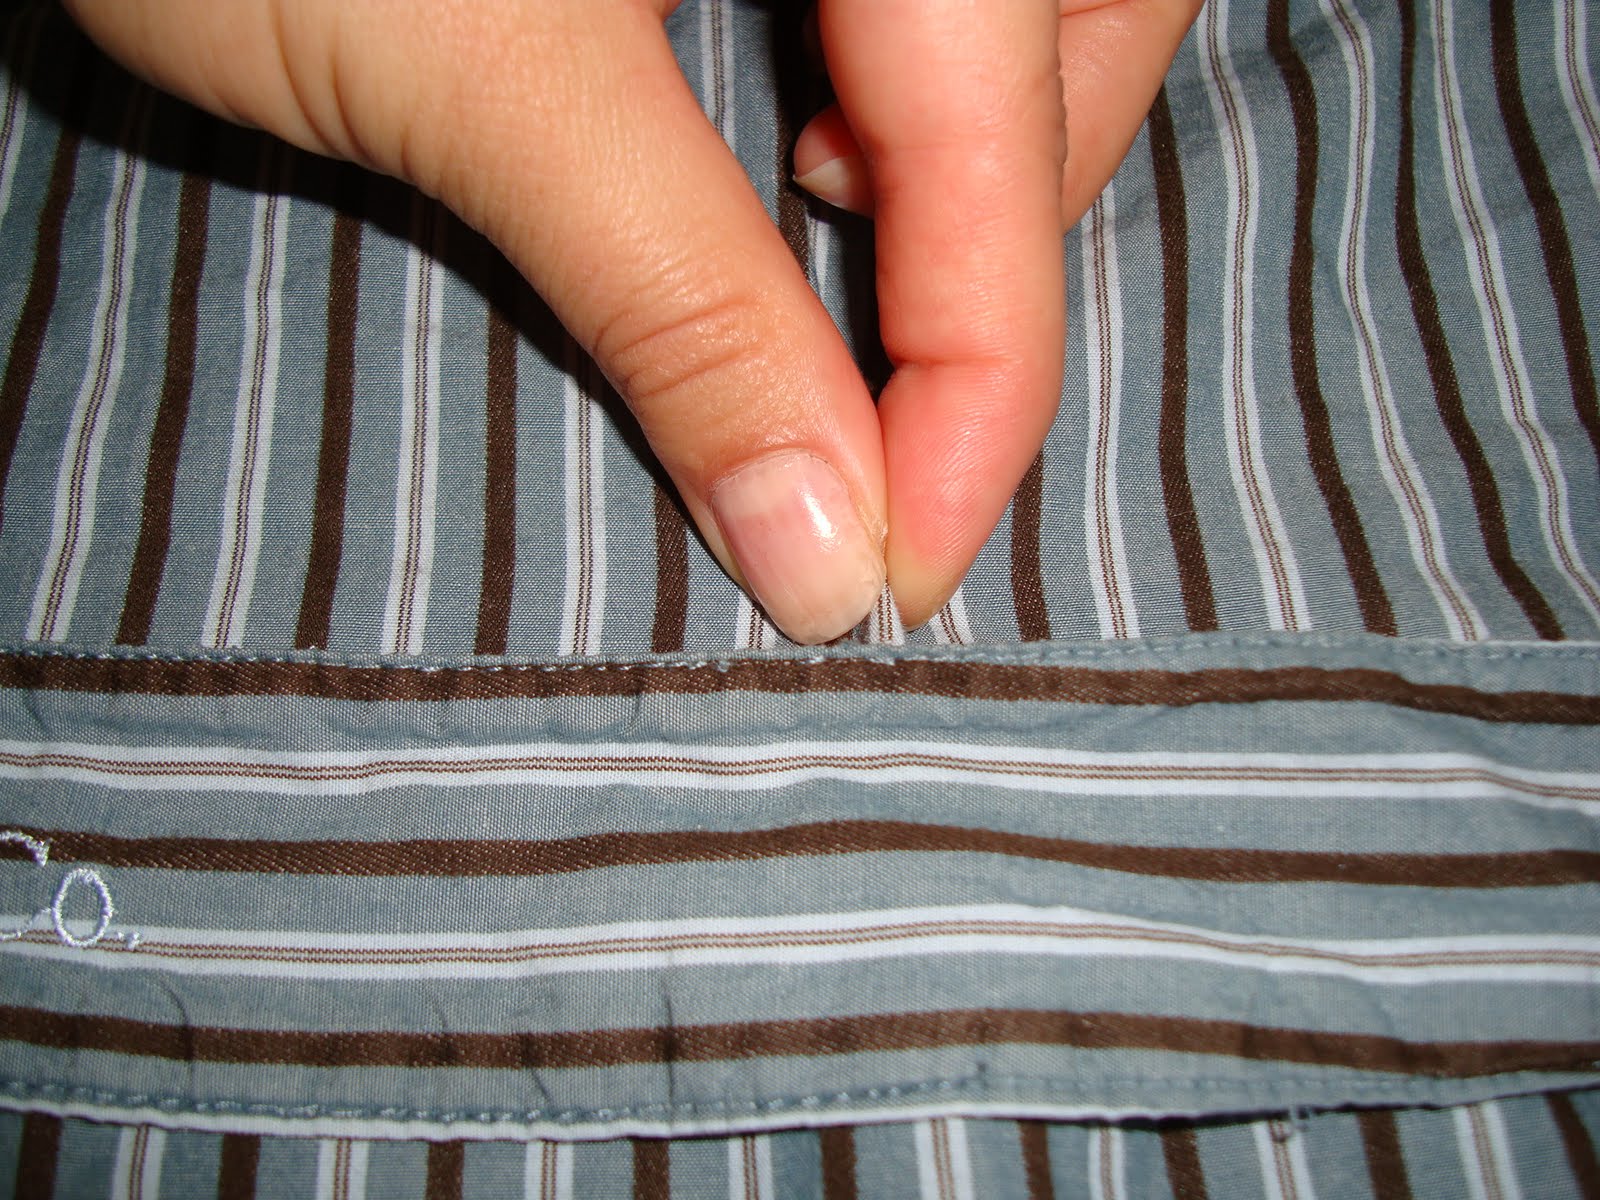
| I then pinched what extra fabric there was in the middle and pinned |
After I had the collar fabric pinned to the back of the shirt I used a straight stitch and sewed it down.
My next step was the sleeves. They were probably the easiest thing for me to do! I used the existing sleeves and folded them in half like this and stuffed them into the shirt.
Yeah, I know poor picture, but here is a video to hopefully help you see it a little better
The next thing I started to work on was the collar. I was originally just going to make it more like the inspiration shirt by rounding it just a bit....but I took my shirt in too much! Yeah, a newbie mistake. So, to keep myself from busting out of the shirt, I had to alter my collar and the front of the shirt. I started by putting the shirt on inside out and pinning it trying to make it look cute and even. Then, I sewed it using this foot which folded the seam over for me
It was as simple as that. Here is the picture of the pinned shirt.
 |
| I actually cut of as much as I could before sewing it. |
Remember that belt? Here is how I made the second part of the belt. I cut sections of the left over fabric from the sleeves and sewed them together making 6 strips long enough, if attached to my side, it could reach past my other side if stretched across the front. Then I took 3 of those 6 strips and braided them together and sewed the ends to make them look a little prettier. I repeated the braiding on the other 3 strips. Then I sewed them to the sides of the shirt where the collar fabric that was sewed to the back of the shirt touched. I sewed a button on each side to add a small embellishment and that completed my belt.


Remember that brown shirt at the beginning? I was going to make that the pleats on the bottom of the button up. Well, that was the part that I failed miserably at. After cutting up sections of the fabric and trying and trying to make the pleats, I decided I didn't have enough fabric to make the pleats the way I wanted them to look. So, I trashed the idea of the pleats but still wanted some type of girly aspect to the shirt. So, I decided to go with a fabric flower using the brown shirt.
Here is the tutorial, from Tea Rose Home, I used to help me make my flower and here are some pictures of my flower while I was making it.
After making the flower I sewed the flower onto a safety pin and pinned it onto my shirt. I thought making a pin would be better than sewing the flower onto the shirt. This way I can take it off to wash it separate from the shirt.